City Painting Tips Photoshop Medieval City Painting Concept Art
How to create a futuristic city with Photoshop textures
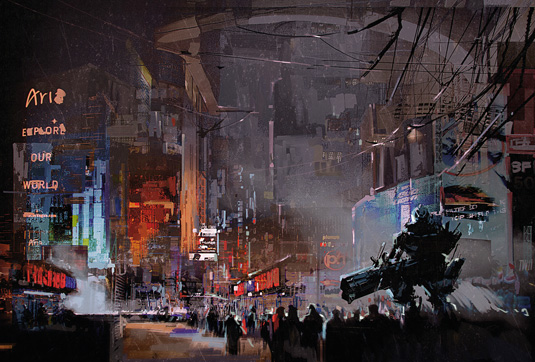
Over the course of this workshop I'll show you how to develop thumbnails and sketches before locking downwardly any designs for the final render. Information technology'due south of import to plan your steps earlier lifting the stylus and beginning to paint.
A concept artist'due south role is to bring unlike visual solutions to the tabular array, not but produce a drove of well-rendered artwork. In that location is a big divergence between the fields of concept art and illustration, even if the line betwixt the 2 has become blurred because of many types of digital art that's available for viewing online.
I'll offset by choosing advisable photos, and brand custom shapes from them to apace generate a large range of possible compositions. During a video game production development, these early on sketches have an important part in the design conversation with the art director.
Here, I'll take the chosen sketch to the colouring phase, revealing the Photoshop techniques and the tools that I use to bring colour into the scene. I'll and so push the detail level past integrating photograph textures into the basic colour sketch, and have the opportunity to explain some basic art theories. In that location are a few techniques that I usually apply before finishing the artwork, such every bit Chromatic Aberration, Zoom Mistiness and Acuminate filters. I'll comprehend those tools during the concluding part of my workshop.
Watch the full tutorial
01. Photo research
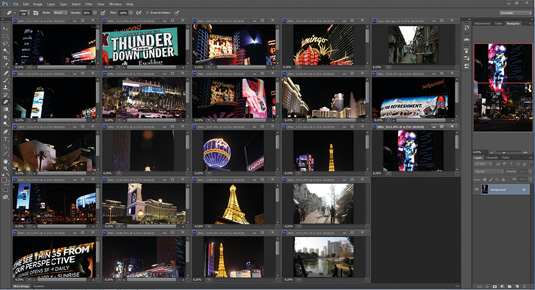
Information technology'due south important to develop your own personal image bank. Not only will y'all accept original material to work with, only the copyrights of those photos also vest to you lot. I selection out some cityscape-related photos that I've taken in China and the US, and quickly get through them to see what interesting elements I can use in my concepts.
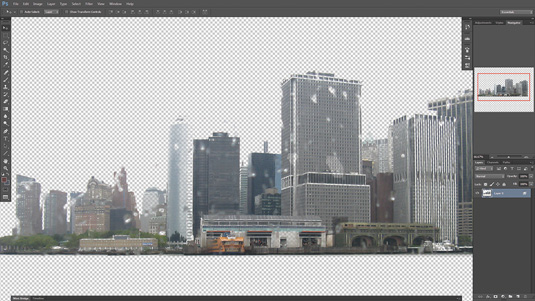
I now have a good idea about the shapes and silhouette that I want to use in this epitome. I drag my photo references into Photoshop and excerpt my chosen shapes. You can use whatever selection method you experience happy with, such equally Color Range, or the Lasso or Masking tools. I ordinarily tweak the contrast, which produces better results later on when creating the custom shapes
03. Create custom shapes

I select my shape using a range of Channels to produce varied results. I invert the selection, press M, correct-click and select Make Piece of work Path. I set the Tolerance of 0.5, then click Edit and select Ascertain Custom Shapes. My custom shape is now nether the Shape tool. I repeat the aforementioned process to generate different buildings shapes, which I'll apply to construct the cityscape.
04. Thumbnail sketches
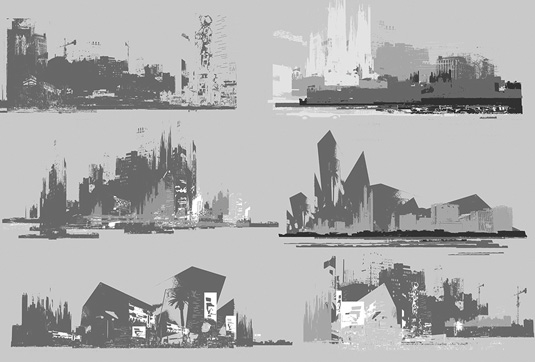
I elevate and drib the shapes on to the sail and speedily produce a range of interesting compositions. It's crucial to think about silhouettes, depth and the lighting direction when creating these thumbnails. Exercise you see how fun and fast this process can be? Imagine how those sketches tin go a valuable asset when discussing your vision with your art director.
05. Terminal sketch
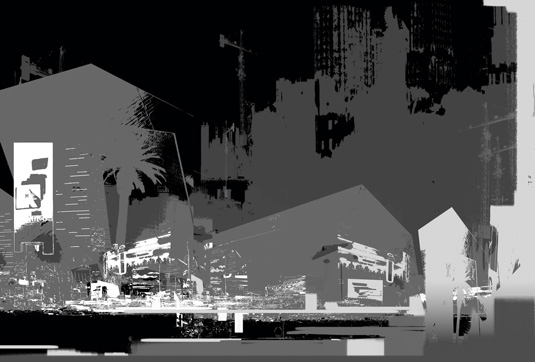
I take a pocket-sized break and step dorsum from the calculator to study the visual possibilities that I've produced then far. I select the one that has the almost potential, and combine information technology with a few elements from other thumbnails. This gives me the finished sketch, but I make up one's mind to tweak the overall shapes, values and contrast, and add together some billboards with very bright values.
06. Adding color
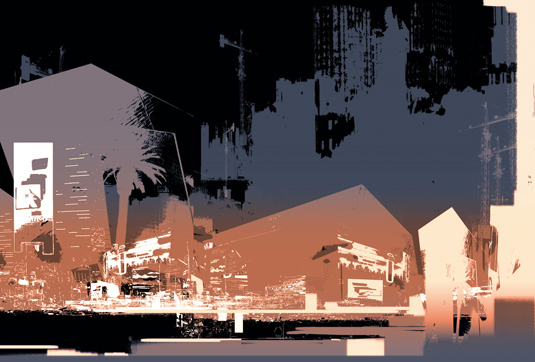
I lay downwardly the first colour base of operations using Photoshop's Adjustments layers. I want to take warm, bogus lights around the base of operations of the buildings and take the tops of the buildings merging slowly with a cold, dark sky.
I create a Hue/Saturation adjustment layer, tick the Colorize box and play with the Hue slider. I elevate a slope on the mask layer then that the warm colour adjustment only affects the bottom part of the paradigm.
I also create another Color Balance layer and a Hue/Saturation layer, which generates a dark bluish groundwork.
Next page: The final steps in the tutorial
Related manufactures
Source: https://www.creativebloq.com/digital-art/create-futuristic-city-photoshop-textures-101517205
Post a Comment for "City Painting Tips Photoshop Medieval City Painting Concept Art"